By C.
So you’ve put in the long hours learning your instrument. You’ve got some scales down, a few chords, and have polished up your rhythm and lead playing to a level you’re comfortable with. Maybe you’ve already written a few songs or have even played in a band along your musical journey. At some point you may be thinking it’s time to record some of your music. But how exactly to go about that can be a daunting and confusing rabbit-hole.
Recording guitar (or bass) tracks can be an exciting process, offering a chance to capture the essence of your playing while creating polished, or even professional-sounding recordings. Whether you’re a seasoned guitarist or just starting out in the realm of recording, here’s a comprehensive guide to help you navigate the process effectively.
Do you have a vintage guitar or bass you’d like to sell? Contact us here
Preparation is a good way to start any new endeavor, and it’s critically important for entering the world of recording music. Having a few necessary tools available as well as the knowledge of how to use them is essential to making decent sounding recordings from the comfort of your own home.
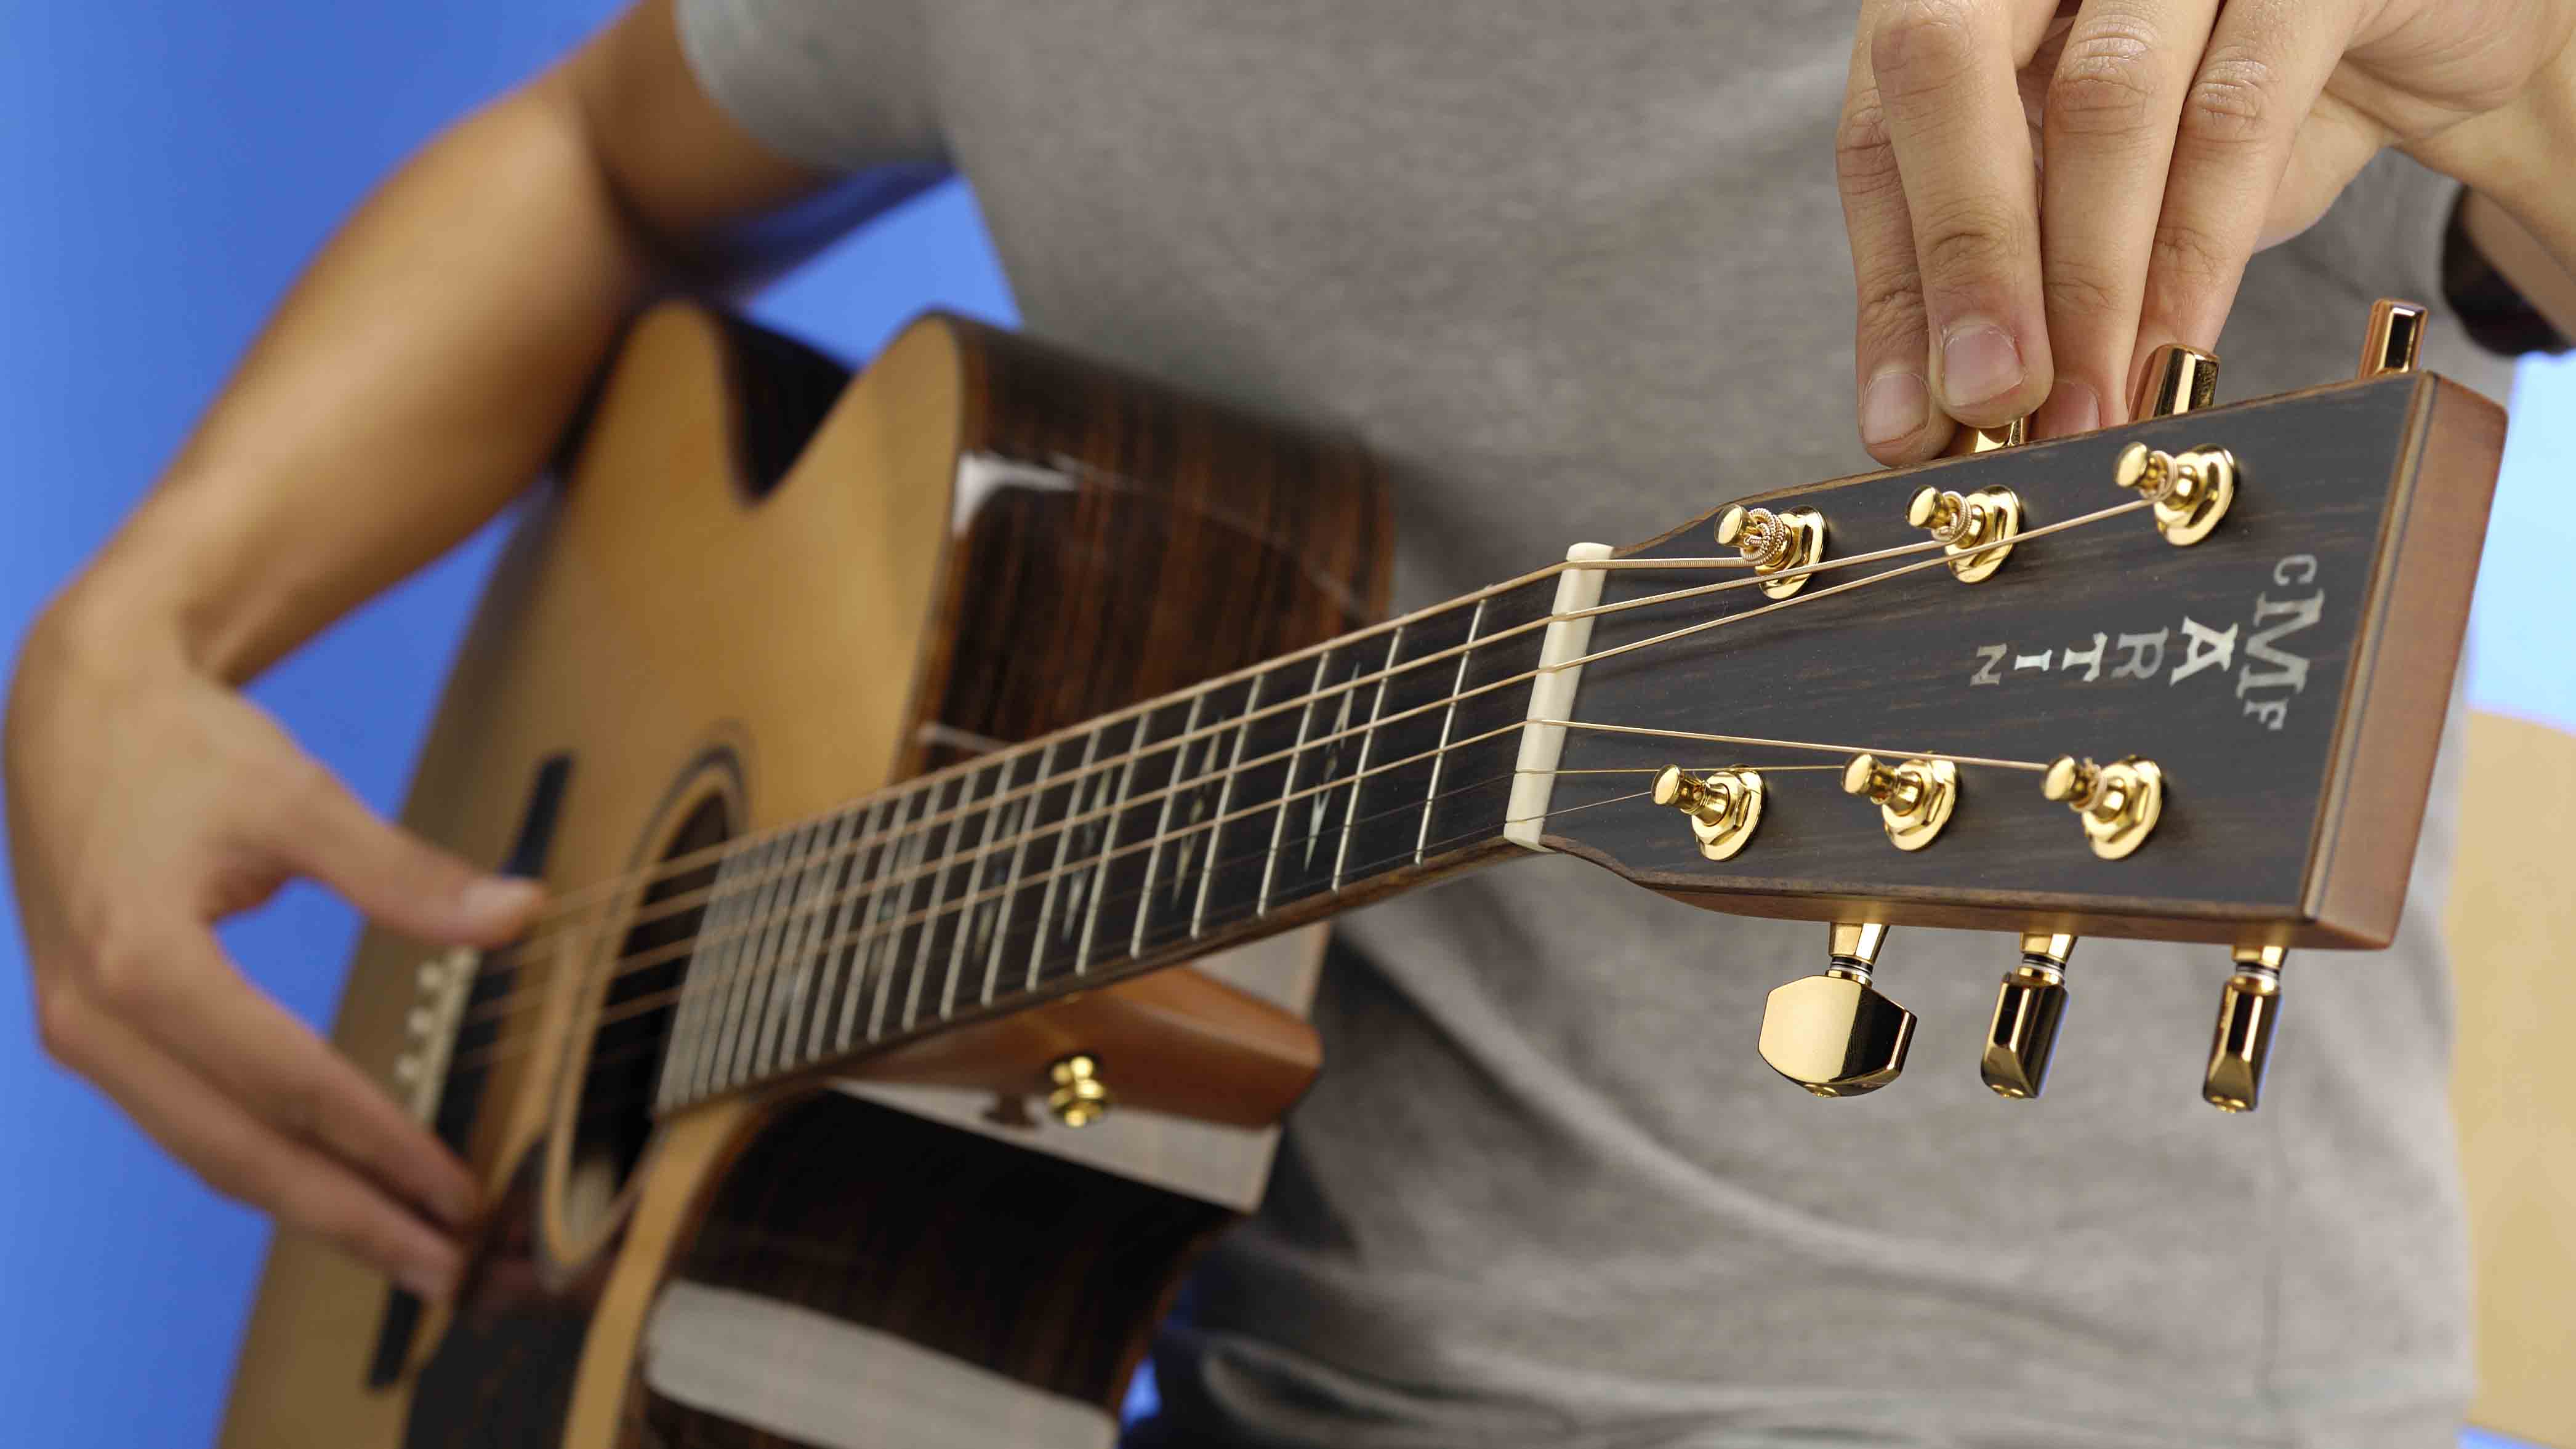
Tune Your Guitar: A well-tuned guitar is crucial for a clean and accurate recording. Use a tuner to ensure each string is in tune before starting. If you’ve recently re-strung your instrument, be sure that the strings are stretched so they don’t continue to go out of tune after a bit of playing.
Selecting The Right Gear: Choose the guitar that best fits the tone you want to achieve. This can be a big decision in itself, so do a bit of research if you’re unsure, and consider using different guitars for varied sounds if necessary. Additionally, select an appropriate amplifier or effects pedals if desired. If you’re not equipped with the right tools for the job, a visit to Imperial Vintage may be in order..
Room Selection: Pick a room with good acoustics and minimal background noise. Acoustic treatment or using isolation shields can improve the recording space. However, in a home environment it’s not always realistic to treat the room with the adequate soundproofing, and many great recordings have been made without it. Just as long as you can avoid capturing the dog-barking or a vacuum in the background you should be fine. Try not to get too caught up with the small details.
Microphone Placement: Position the microphone(s) strategically. For an amplifier, try placing a dynamic or condenser mic close to the speaker cone for a direct sound, experimenting with angles and distance to find the sweet spot. For an acoustic guitar, consider placing a condenser mic around the 12th fret for a balanced tone. Many acoustic guitars also feature pickups, eliminating the need for a more involved microphone based technique.
DI (Direct Input Recording): Alternatively, use a USB interface to capture a clean signal directly from the guitar. This method bypasses the amp and microphone, providing a raw sound that can be processed later. Interfaces very useful tools and work particularly well for those looking to dial in their sound post-tracking.
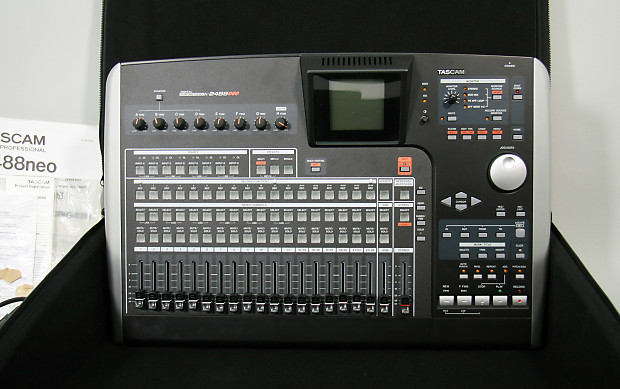
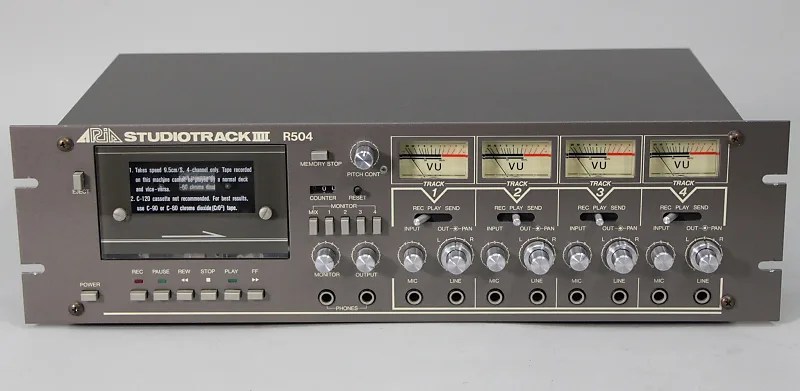
Choose A DAW, Workstation, or Hardware Recorder: Select a DAW that suits your preferences and needs. Popular options include Pro Tools, Logic Pro, Ableton Live, and FL Studio. If you prefer to go the more hands-on approach, there are plenty professional hardware recorders available in all price ranges. These devices are generally not as full-featured as a DAW, but can offer a quick and easy solution for those looking to just get their recordings down with a straightforward workflow.
Editing: Use the editing features of your DAW or recorder to trim, quantize, and align the recorded tracks. This helps in achieving a polished, cohesive performance.
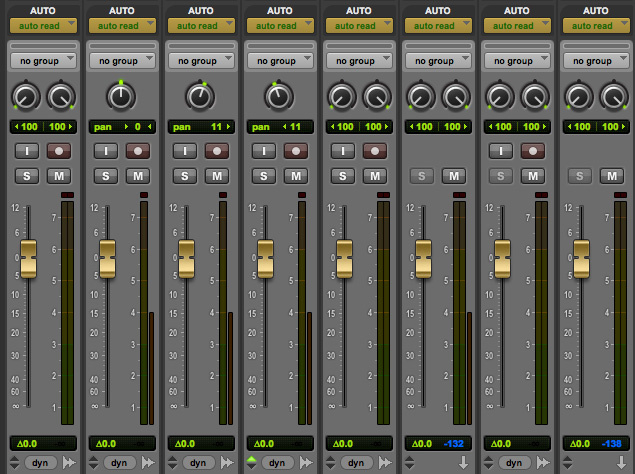
Mixing: Balance the guitar tracks with other instruments in the mix. Pay attention to panning, EQ, and volume levels to ensure each part sits well in the overall sound. Mixing is an art form, so don’t expect to get it right on your first try. It takes many years to master the art of mixing, but practice makes perfect!
Recording Techniques
Performance: Focus on delivering a clean, expressive performance. Pay attention to dynamics, timing, and nuances in your playing. Keeping yourself well-rested, fed and relaxed can also greatly improve your performances when recording.
Layering: Experiment with layering multiple guitar tracks to create depth and richness in your recordings. Try doubling a part with slight variations or recording harmonies to add texture. Making use of panning is also helpful to expand the sound of your tracks, just be mindful that too many tracks can do more harm than good. So make sure you keep only the best takes.
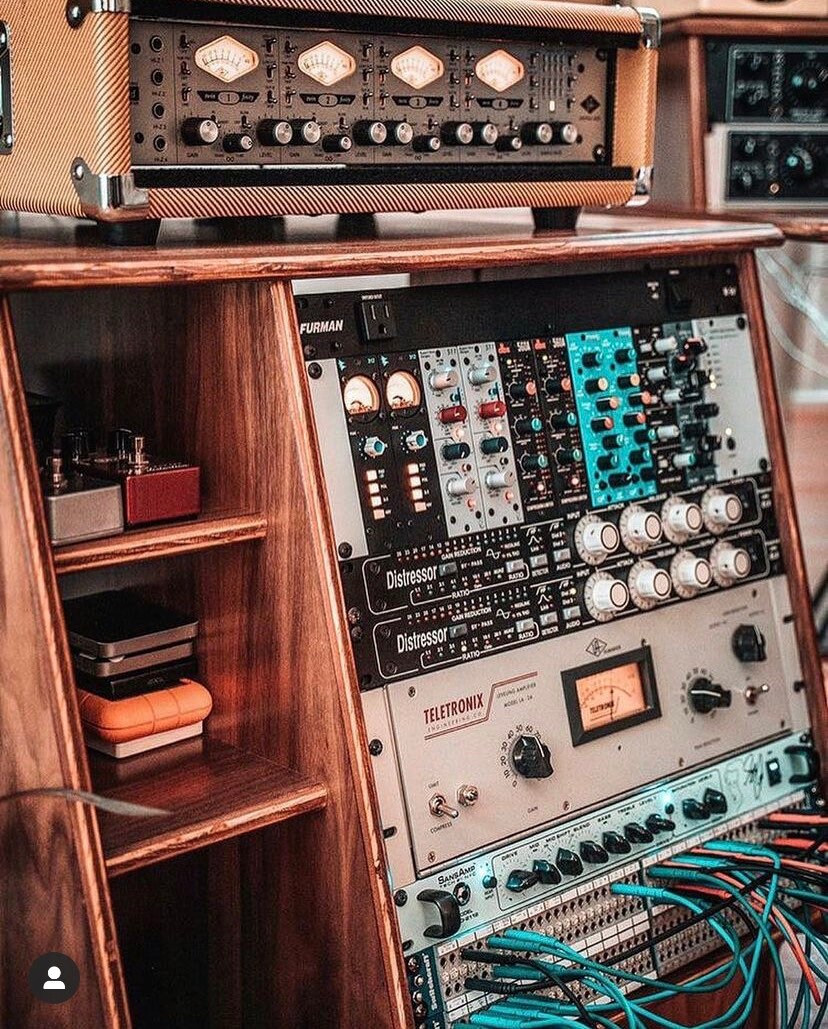
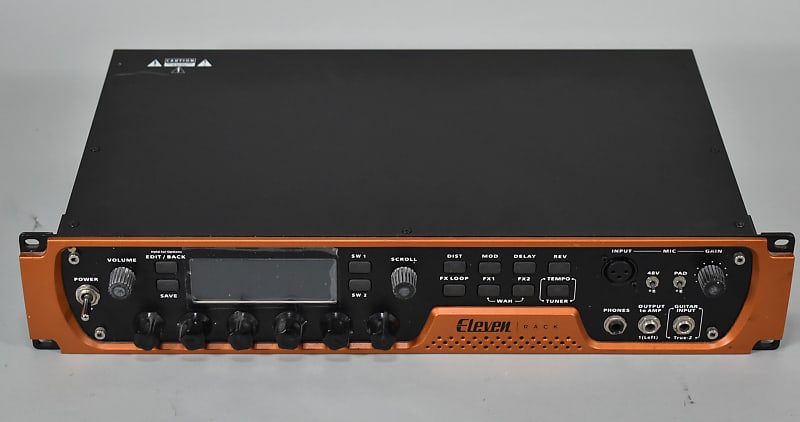
Effects And Processing: Apply effects and processing to enhance the sound. Experiment with reverb, delay, compression, and EQ to achieve the desired tone. However, strive for a balance; too much processing can muddy the sound. If using a computer, most of these effects will be readily available “in the box” as downloadable plug-in software. If you’re going the hardware route, you may need to invest in some external effects units, either in rack or pedal form.

Multiple Takes: Record multiple takes of the same part to allow for selection and comping. This gives you the chance to piece together the best parts for a flawless performance.
Final Touches:
Reamping: If necessary, re-amp the recorded tracks by sending them back through an amplifier to experiment with different tones.
Consider sending your final mix to a mastering engineer for the finishing touches. Mastering helps to ensure the overall sound is consistent and optimized for various playback systems.
Backup: Always make backups of your recorded tracks and project files to prevent any accidental loss of data.
Recording guitar tracks is a creative journey that allows for experimentation and personal expression. Remember, the key is not just technical perfection but capturing the emotion and vibe of your performance. Practice, experimentation, and a dash of creativity will help you achieve captivating guitar recordings.
