
Re-stringing a guitar is a fundamental skill that every guitarist should learn eventually. Whether you’re a beginner or a seasoned pro-player, knowing how to properly re-string your guitar is essential for maintaining its tone and playability. In this brief guide, we’ll walk you through the step-by-step process of re-stringing a standard steel-string acoustic or electric guitar. Keep in mind that not all guitars are exactly alike, and you may have to adjust these methods based on your guitar’s type of tuners, bridges and so on.
Re-stringing your guitar in preparation to sell or trade? Contact us directly. You can also give us a call at any one of our 4 locations across Southern California or send us an email.
Before you start the re-stringing process, make sure you have the following supplies ready:

- New Guitar Strings: Ensure that you have the correct type and gauge of strings for your guitar. Acoustic and electric guitars typically use different strings, so check your instrument’s specifications.
- String Winder: A string winder is a handy tool that makes the winding process much quicker and more comfortable. There are also many multi-purpose string winders available that include string cutters and a bridge pin removal tool.
- Wire Cutters: You’ll need wire cutters to trim the excess string length once the strings are installed. Scissors just wont “cut” it…
- Tuner: A tuner will help you tune your guitar accurately after you’ve completed your re-stringing.
- Guitar Polish and Cloth (optional): You can use these as needed to clean your guitar while you have the strings off. Lemon Oil is suitable for oiling dry fingerboards such as Rosewood or Ebony, but it’s not necessary for any finished fingerboard.
We’ll start by loosening and removing the old strings one at a time. To do this:
Use the tuning peg to loosen off the string tension until you’re able to unwind the string from the tuning post, and then carefully remove it from the bridge. Be cautious as the string ends can be sharp. You certainly don’t want to poke yourself with an old rusty or corroded string!

Clipping strings using the wire cutters can also be helpful to remove the old strings from the bridge without struggling with coiled ends. Just be sure to loosen the tension plenty before doing so, or strings will pop and go flying (often towards the face) and nobody wants that.
Dispose of the old strings safely. Wrapping them all together in a circle is best. As we mentioned before, they can be sharp and should not be left lying around.
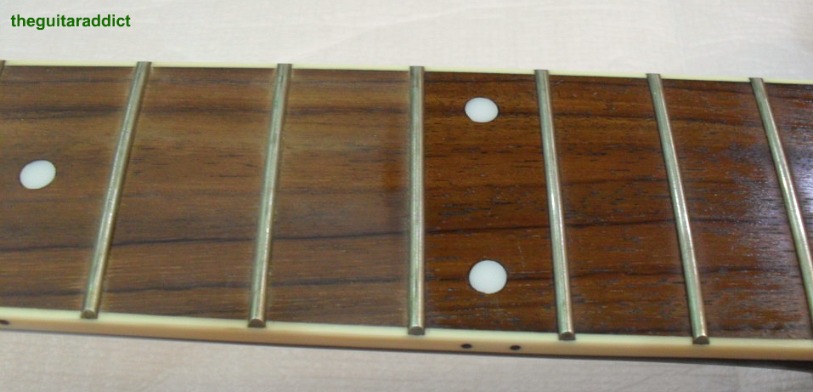
With the old strings removed, you have a good opportunity to clean your guitar’s fretboard and body. Use a guitar polish and a soft cloth to remove any dirt or grime. And when oiling a fingerboard, less is more. Excess oil can be a chore to clean off the back of the neck or anywhere else on the guitar, and can even unseat frets if you use too much on the fingerboard.
Either before or right after you put on the new strings, it’s a good idea to stretch them out slightly. This will help stabilize tuning. To do this before re-stringing:
- Uncoil the Strings: Carefully uncoil each new string, being mindful not to kink or bend them.
- Stretch the Strings: Gently pull each string along its length to stretch it slightly. This will prevent excessive stretching after installation.
Now it’s time to install the new strings:

- Thread the String Through the Bridge: Starting with the thickest string (usually the low E), insert it through the body or tailpiece’s corresponding hole.
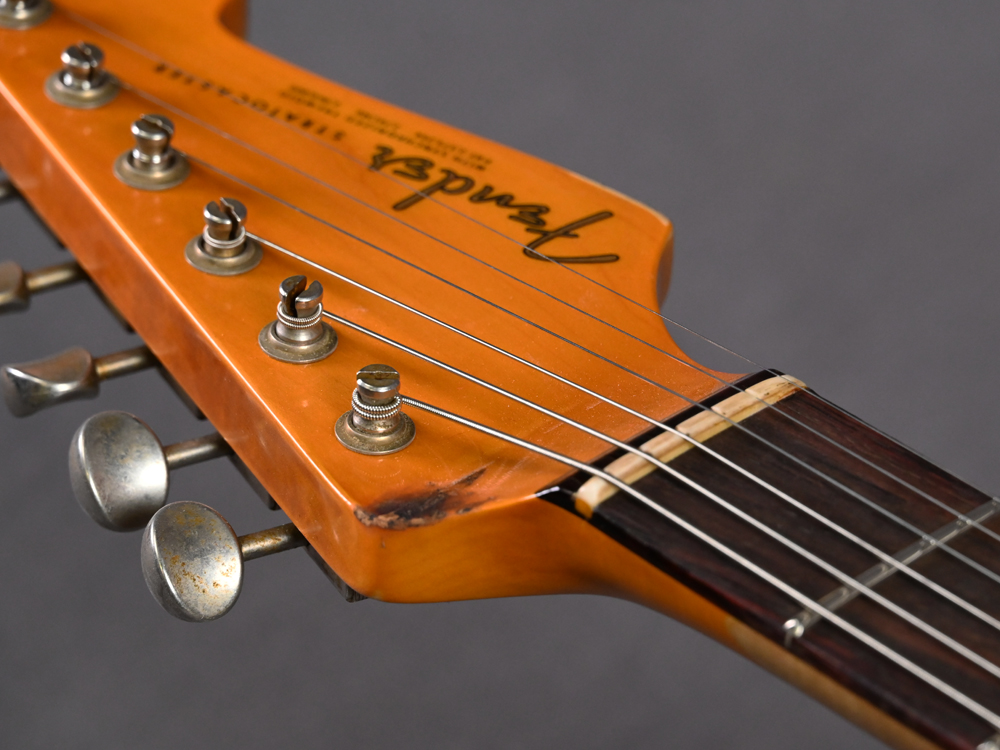
- Pull the String Through: Pull the string through until there’s enough slack for winding around the tuning post. For guitars with 6-inline tuners, 2-2 1/2 tuner spaces above is usually enough.
- Secure the String: For acoustics, bend the string at a right angle where it passes through the bridge hole. This will help anchor the string in place when tension is applied.
- Wind the String: Use the string winder to wrap the string around the tuning post in the correct direction. For the lower strings (E, A, D), wind the string clockwise. For the higher strings (G, B, high E), wind counterclockwise. This applies only to guitars with 3×3 headstocks. For 6-inline, wind counterclockwise for all 6 strings.
- Clip the Ends: once your string is wound tight, cut off the excess material with wire cutters.
- Repeat for All Strings: Repeat this process for each string, moving from the thickest to the thinnest.
Now that we’re all strung up, it’s time to tune your guitar. Use your tuner to ensure each string is in the correct pitch. Start with the low E string and work your way up to the high E string. You may have to do this a few times in a row after putting on a fresh new set.
If you chose to save the stretching for later, now’s the time to do so. New strings tend to stretch initially, causing them to go out of tune quickly. So once you’ve got the right amount of tension back on your guitar, gently stretch each string as you move along the fingerboard before re-tuning up to pitch.
And now we’re done! Congratulations, you’ve successfully re-strung your guitar! Regularly re-stringing your instrument not only improves its tone but also enhances its playability. By following these steps and with a bit of practice, you’ll become proficient at re-stringing your guitar and keeping it in top condition for years to come.
